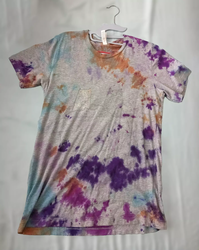
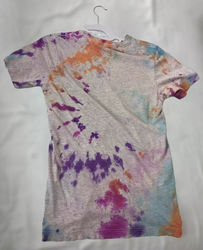
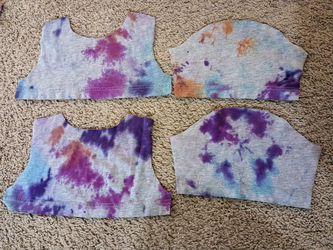
This entire project starts with a T-shirt with a very faded logo that he no longer wears. Instead of throwing it, I will show you how I transform it into an adorable and sophisticated baby shirt. To achieve that, I remove the part of the shirt that contains the logo. It means that I was only left with enough fabric for a crop top. Then, I combined what I had with another fabric and made it into a layered shirt, just like those pieces which were popular in the 90s.
I must confess that the shirt I used to start this project is in worse condition than just having a faded logo. In the post where I tie-dye shirts, I reveal how I dyed baby shirts. However, what I didn't mention in that post is that I tried to use the leftover paint to try and salvage this shirt as well. As you can see, the result looks horrible with these random spots of permanent paint on it. This is why my partner refuses to wear it (rightfully so). Hence, this is the attempt #2 to salvage the T-shirt.
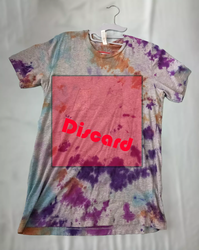
Even though the logo is not very visible and is pretty faded, I want to remove any piece of the fabric that contains it because it does not feel as nice as the rest of the shirt, resulting in limited fabric to work with. For visualization, I marked in the picture below the area that I take out.
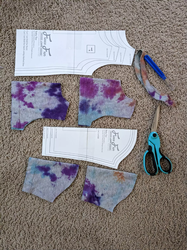
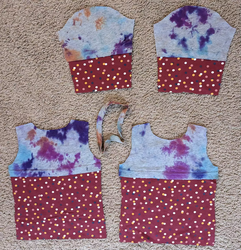
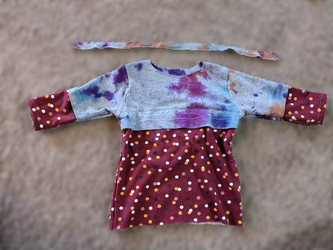
I use the top portion of this T-shirt sewing pattern to cut out the top part of the body and the roots of the sleeves. I preserve the hem so I don't have to create a new one later. It's fortunate that I kept the pieces that were dyed nicely. For the collar, I used my seam ripper to carefully remove the neckband from the shirt. Here are all the parts of the adult shirt I'm using for this project; the folded ones are in the left picture and the unfolded ones are in the right one.
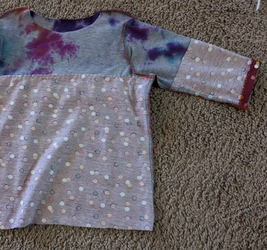
As I mentioned before, this amount of fabric is only sufficient for a crop top. Since I do not want my baby to have a cold belly, I use this red fabric with polka dots that I got on a sale for black Friday to fill in the missing parts.
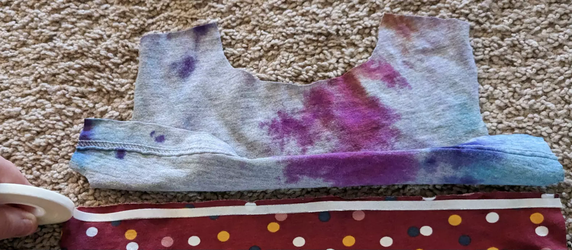
When all of the fabric pieces are cut out, it is time for my favorite part, applying the wash-away double-sided tape. Maybe professional sewers can do without it, but for beginners like me, it makes sewing stretch fabrics much easier. The first reason this tape is helpful is that it does not stretch and prevents the fabric from stretching as well. The tape also holds all layers together. The best part about this tape is that, as the name implies, it disappears completely in the washing machine.
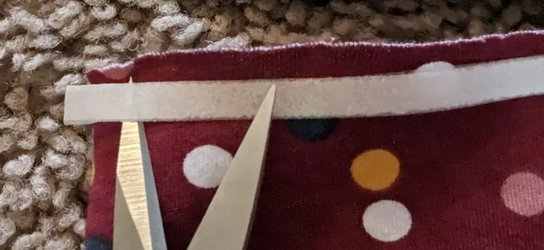
I show below how I apply the tape. I first apply the tape, then use the point of my pointy scissors to peel off the paper from the back of the tape. Finally, I peel it and place the fabrics on top of each other. Now they all are attached.
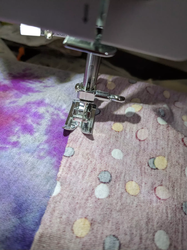
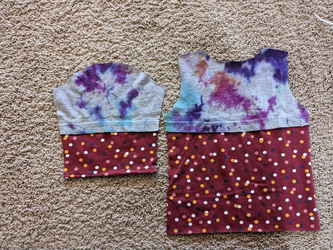
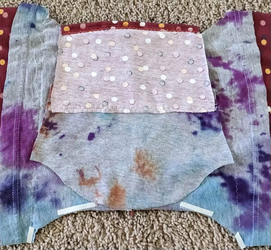
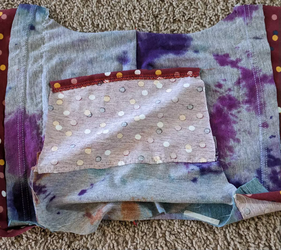
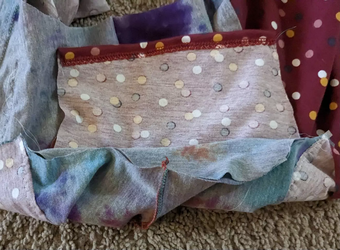
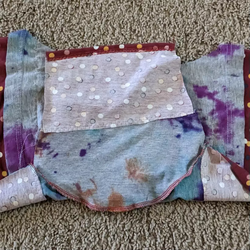
I take my taped pieces to the sewing machine and stitch all four pieces of the shirt to all four parts of the polka-dot fabric.
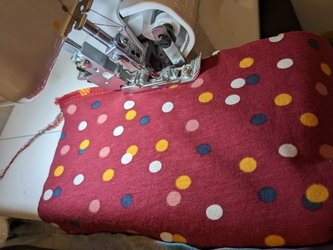
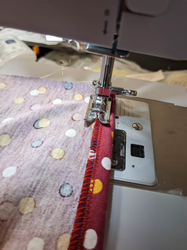
Now I have all the pattern parts, composed of both fabrics and, stitched together. First, I hem the ends of the sleeves while they are flat and accessible because it would be tough to hem these tiny sleeves when they are fully assembled. I use my serger to make a seam at the edge. Then I fold the fabric and sew it folded with a zig-zag stitch.
Now we have the bodice parts as well as the sleeve parts, just like the pattern requires. Right now, the sleeves are hemmed, but the body pieces are not.
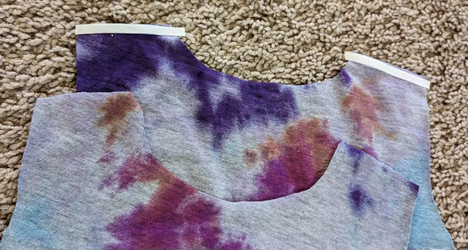
Time to assemble the body. I start from the shoulders. I line the fabrics together, apply double-sided tape, and serge the shoulders together. Iit's necessary to ensure that the tape covers the edges because they tend to move the most if they are not glued.
Now it is time for the tricky part- to assemble the sleeves. Since the sleeve piece is not the same shape as the socket, I have to ease the sleeve into the socket. My preferred method is using tiny pieces of the same wash-away double-sided tape that I used before. First,I stick the middle and the edges of the sleeve to the socket and then try to fit the rest. It looks awkward and ill-fitting right now, but it will look great once turned over.
Now that the sleeve is in place, I sew it down with my serger, slightly stretching the fabric to make the seam as even as I can.
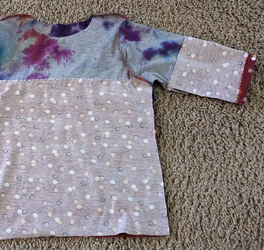
As we can see in the picture below, the sleeve already looks like a sleeve! Now it is time for the main seam that goes from the end of the sleeve, through the armpit, and to the bottom of the body on each side. To make this seam, I lay the shirt flat, glue the side of the body and the opening of the sleeve, and stitch.
In the picture below, we can see the shirt right-side-out. It is already entirely usable, but it is missing the finishes of the neckline and the bottom.
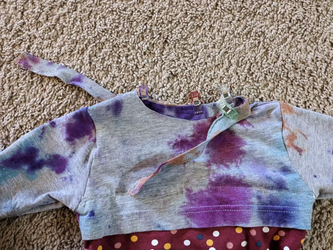
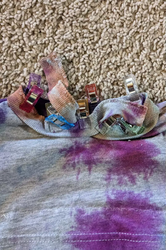
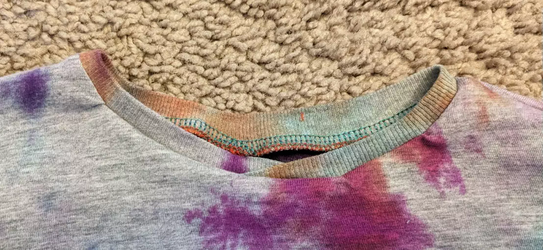
Instead of making a seam that closes the loop of the neckline, I am attaching the end at an angle. I think it is both easier than the standard neckline and it also looks more sophisticated. Starting from the middle of the back, I use clips to attach the neckline band to the body of the shirt. I stretch the band slightly as I go to make sure that the neckline lays appropriately. When I reach the center of the front, I overlay the edges of the band like in the picture.
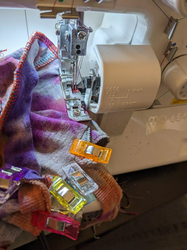
I now take the neckband to the serger, stretching it slightly to make the pieces match. I also use the serger to cut the excess neckband. It is possible to do that with a sewing machine with a zig-zag stitch, but it is easier with a serger as it is all done in one step.
And here is our finished neckline. It turned out stunning, if I may say so myself.
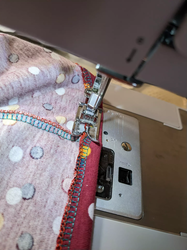
The last finish of the shirt- I hem the bottom of the shirt the same way I handled the sleeves. Unlike the sleeves, the bottom of the shirt is big enough that I can hem it while it is assembled.
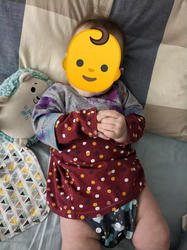
That's it! Throw it into the washing machine, and I am done! The washing machine is necessary because I used wash-away tape. Here are some pictures of the end result and of my daughter wearing it.
If you like this tutorial, you might also like my post where I upcycle old socks inso a baby hat.

