Being pregnant on a tight budget, and with a strong desire to exclusively use all-in-one cloth diapers, I had to get resourceful. This is when I got my very first sewing machine. I've always known that I wanted to build an all-in-one cloth diaper stash as they are the easiest to use and clean, but unfortunately, they tend to come with a hefty price tag. So, I took matters into my own hands and decided to create my own and sew my own diapers. Furthermore, I also decided to make the diapers sized, which means that I have sewn over 100 diapers in different sizes, perfecting my sewing process. In this post, I will gladly share the most efficient way I found to make them.
What Exactly is an All-in-One Cloth Diaper?
There are numerous styles of cloth diapers, which can sometimes feel overwhelming. My favorite option is the all-in-one cloth diaper, a convenient single-piece system where the absorbent layer is sewn into the waterproof outer layer. These diapers are just as easy to use as disposable ones, but with the added benefit of being washable and reusable.
Why All-in-One Cloth Diapers are the Best
The switch from traditional cloth diapers to disposables was primarily driven by convenience. However, I believe that cloth diapers can offer the same level of convenience along with the comfort and cost-efficiency they provide. Personally, I initially tried using pocket diapers but eventually decided to sew the inserts permanently into them. Stuffing the diapers became too much of a hassle, and I often found the inserts getting bunched up during laundry or while my baby was wearing them. Additionally, pocket diapers sometimes led caregivers to unintentionally use a diaper without an insert in an attempt to be resourceful and avoid bothering me (we've all been there, Mom!).
The Cost-Effective Choice: Sewing All-in-One Cloth Diapers
Purchasing all-in-one cloth diapers commercially is often the most expensive option. With each diaper costing around $30 and considering a stash of 30 diapers, it can easily surpass the cost of a decent stroller! However, when it comes to sewing, the cost of making all-in-one diapers is comparable to other styles like pocket diapers and inserts. I estimate the materials for sewing them to be around $5. Therefore, if we've already invested our time in sewing diapers, choosing all-in-ones proves to be the most cost-effective decision!
Detailed Instructions for Sewing an All-in-One Cloth Diaper
In this post, I will demonstrate how to sew an all-in-one cloth diaper, where all the layers are securely attached. Unlike other styles of all-in-one diapers, where the insert is only attached from one side, resembling a tongue, I've discovered that these can sometimes be confusing for caregivers, such as my mother and husband. Additionally, when dealing with an older baby who resists diaper changes, it becomes more challenging to position the insert correctly in those types of diapers. That's why the diapers I create have the insert fully sewn into the body of the diaper. The diapers we make in this post are extremely easy to clean and have one unique advantage (that can also be seen as a disadvantage): because the water-absorbing layer is hidden behind a feel-dry layer, it can sometimes be difficult to detect if the diaper is wet. Haha!
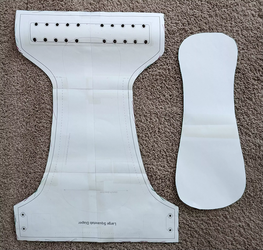
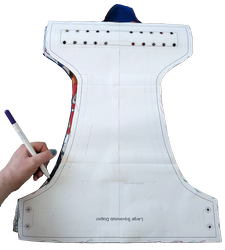
To begin, I print Arfy's pattern size L, carefully assemble it, and then proceed to cut it out. As for sizing, I've consistently opted for the larger size that my baby has been using since they were 6 months old - and it still fits them perfectly at 15 months of age.
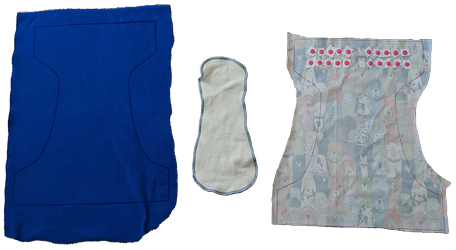
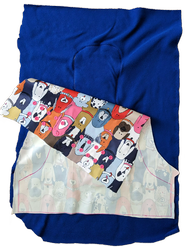
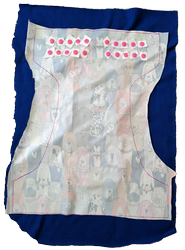
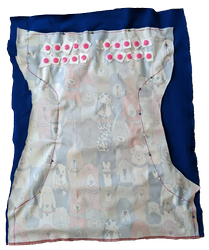
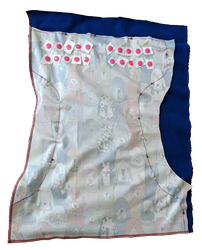
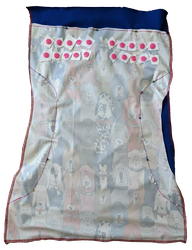
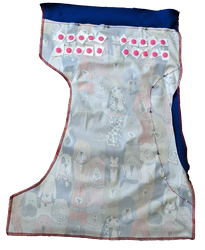
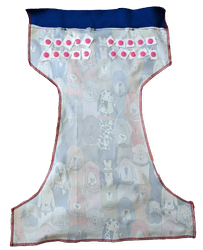
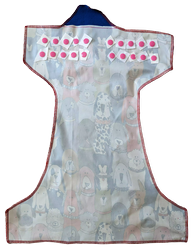
Next, I start by cutting out all the fabric pieces based on the pattern. Using a sharpie, I loosely trace the body pattern of the diaper on a piece of microfleece and on the reverse side of the PUL fabric. I then loosely cut these marked pieces, as shown in the accompanying images. In the photo, you can observe that I have already installed the front snaps on the PUL, with small sections of PUL fabric around each snap for added reinforcement and that prevents any potential tearing. To create the absorbent section, I carefully adhere and serge together two layers of 500 gsm bamboo hemp fleece, ensuring that they match the designated pattern shape.
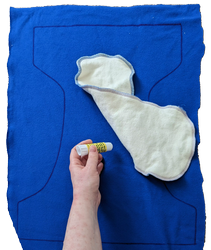
Afterwards, I carefully apply glue to adhere the insert to the microfleece layer. The exact placement is not crucial as it does not impact the overall effectiveness of the finished diaper.
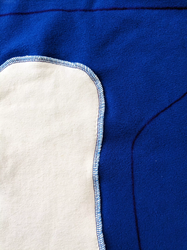
I secure the insert by stitching it with a zig-zag pattern. This stitching technique effectively prevents the edges of the insert from folding inside the diaper, eliminating not needed bulk.
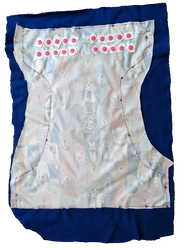
To assemble the main parts of the diapers, I lay the microfleece layer on the PUL, right sides together.
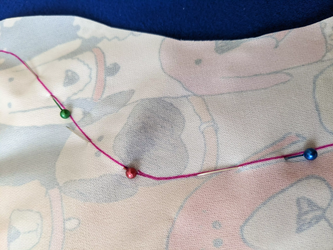
I then use sewing pins to temporarly attach them. I opt for pins over glue here, because the glue does not stick well to the right side of the PUL.
I then serge all the edges one-by-one, thus avoiding serging corners
When serging the top of the diaper, I made sure to leave a turining hole at the front
We turn the diaper inside out, and it is almost done, besides some final touches!
To add the elastics, we first copy their locations from the pattern and mark them around the back and around the legs. This does not have to be super accurate, but make sure it's not very off neither.
We now sew the elastic casing- lines that are parallel to the diaper edge and will prevent the elastic from wiggling away.
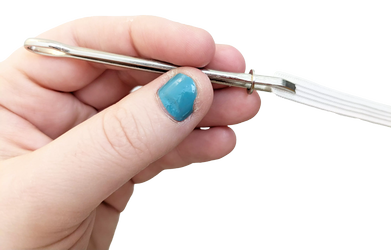
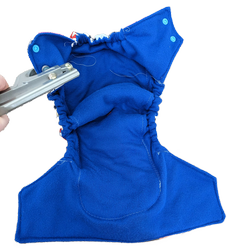
To insert the elastic into its casing, I use this very cool elastic threader that you can see in the picture. It is like tweezers with a small ring that can keep it securely snapped into the elastic.
We now thread the elastic into the casing, sew the side that is close to the threader, stretch the elastic to its maximal length and secure it from the other side.
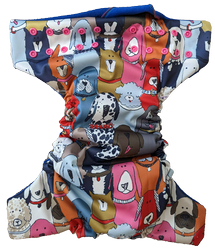
After repeating the process for all three elastics, the diaper looks like this.
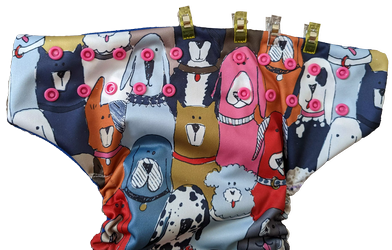
We now start closing the opening hole. We first clip in in place.
We then top stitch, i.e., stitch close to the edge, around the diaper in the parts where there is no elastic.
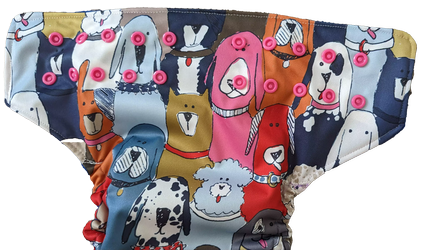
Finally, we add 4 male snaps around the waist.
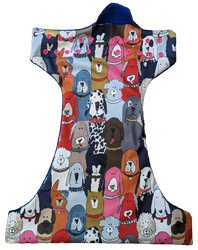
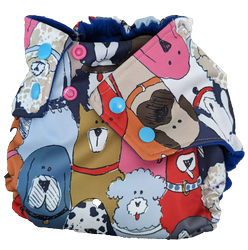
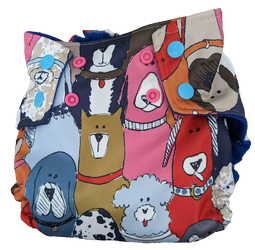
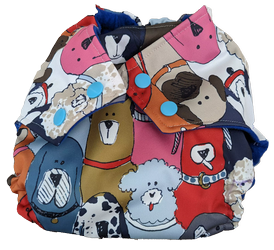
And voila! Here is the finished diaper. I have been using diapers made this was for 9 months now, and they are by far the best diapers in my stash!

